
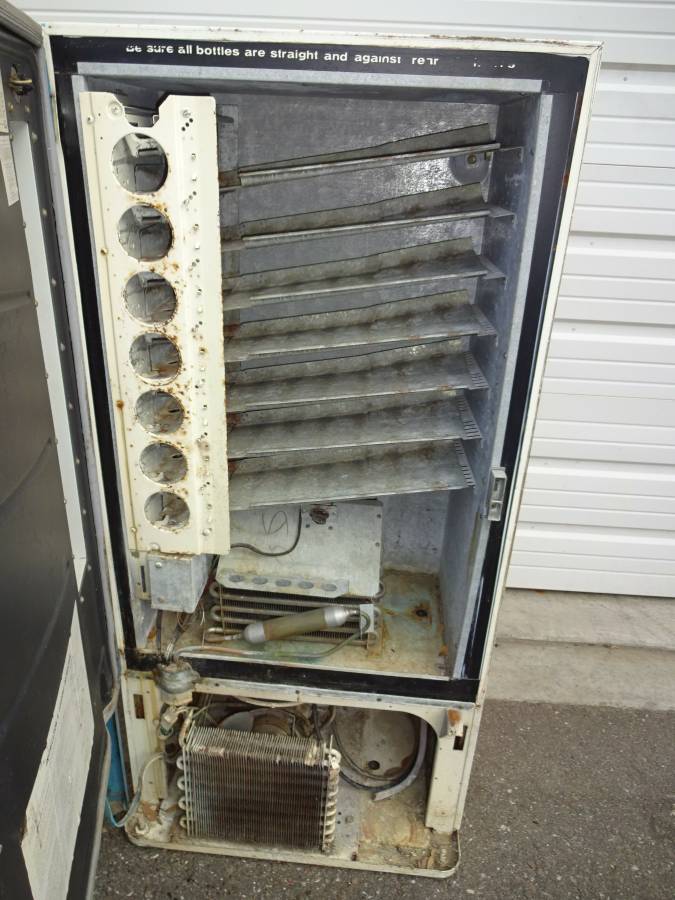
Here as found.
It has been repainted by the bottler and had a new sign installed. There is some significant damage on the right side of
the coin door where a attempt(s) was made to pry it open. (so some body work is needed)
The coin door and locking rods have also been damaged.
Impossible to see in the photos supplied, was the fact that the entire front door was out of alignment as well.
The entire front cabinet door on it's hinges was shifted to the right, maybe a 1/16" at the top .All this damage not obvious or mentioned by the seller.
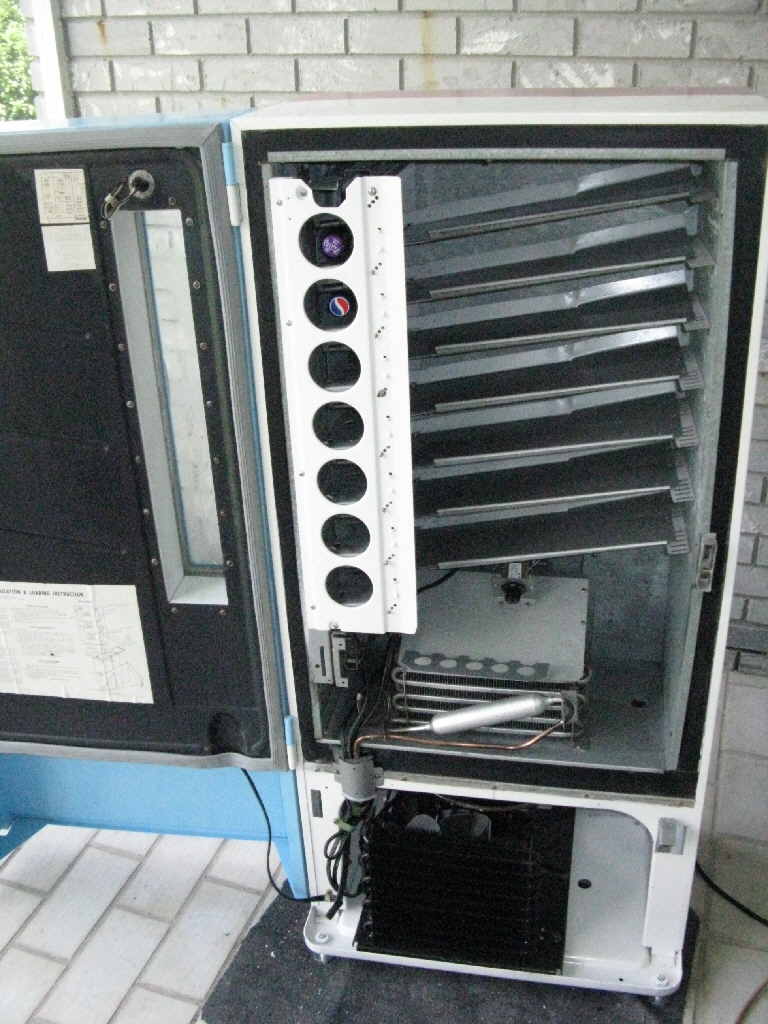
Good news , the refrigeration works. it needs the wiring to be replaced though and the refrigeration deck etc. restored.
I intend to put the machine back to what it looked like when it started life.
It should be lighter in color and the updated sign will be replaced by the earlier bottle top version if I can find one.
Here you can see in the past this area was sprayed with white paint
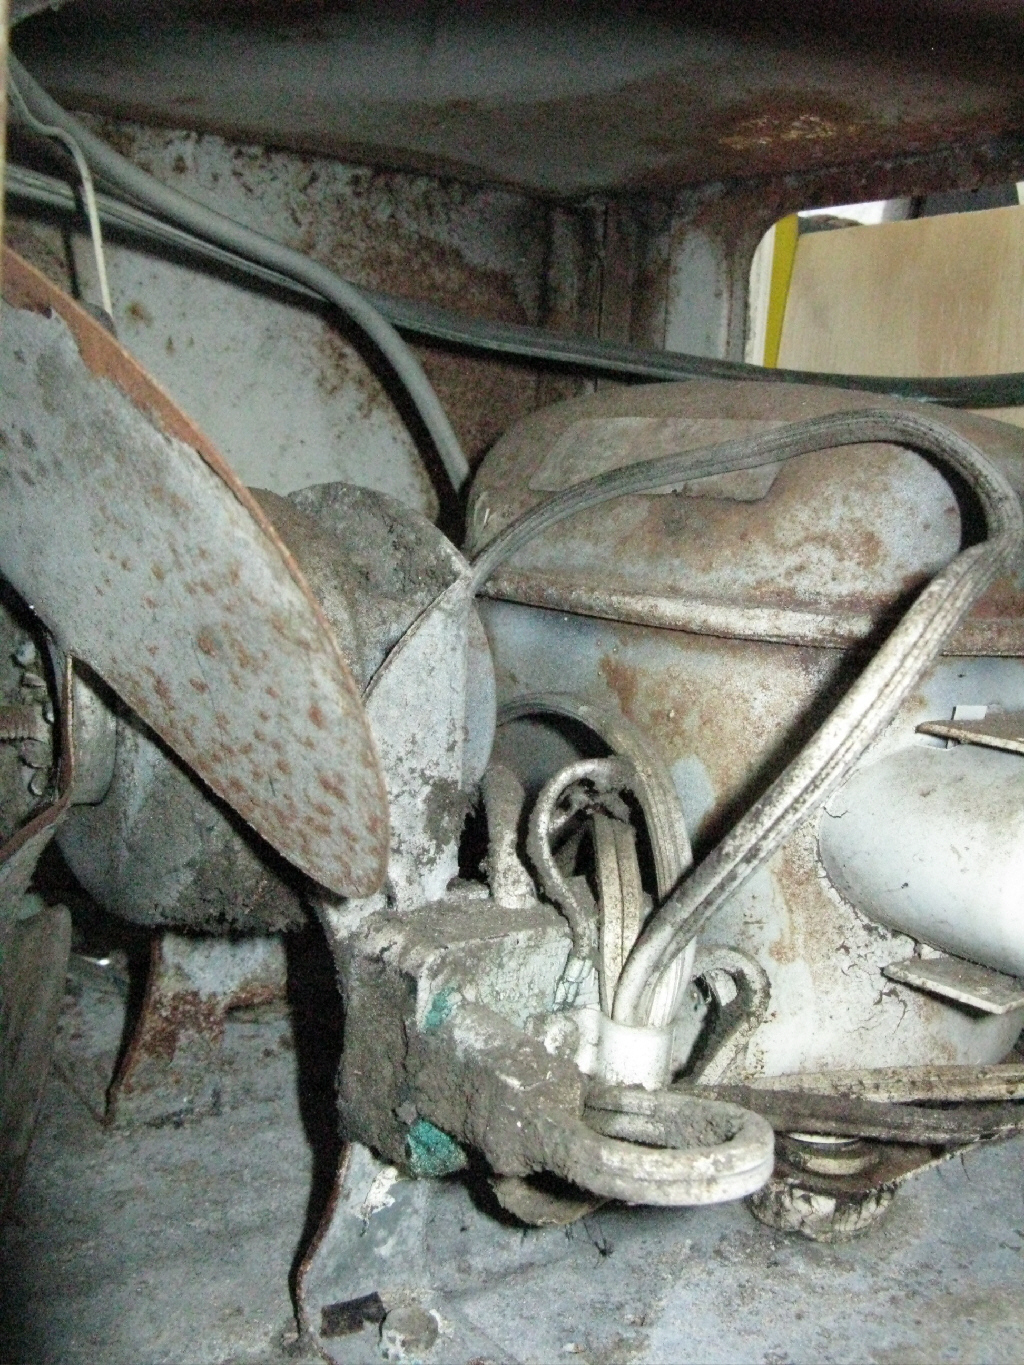
Refrigeration - compressor area at bottom shows some surface rust, the steel fan with be replaced.
First step is to disassemble the machine.
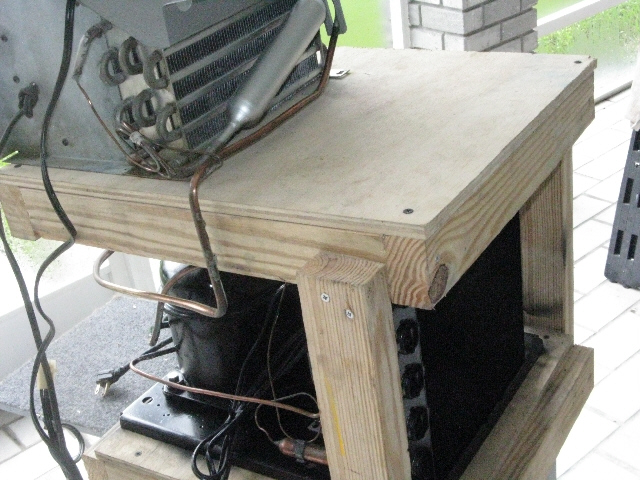
Next I built a custom table to hold the refrigeration, so I could work on it and avoid damaging it.
The dimensions from the top to the bottom shelf are approximately those from the top and bottom shelves in the machine

The one corner needs to remain open to allow for the refrigeration connection to the evaporator section

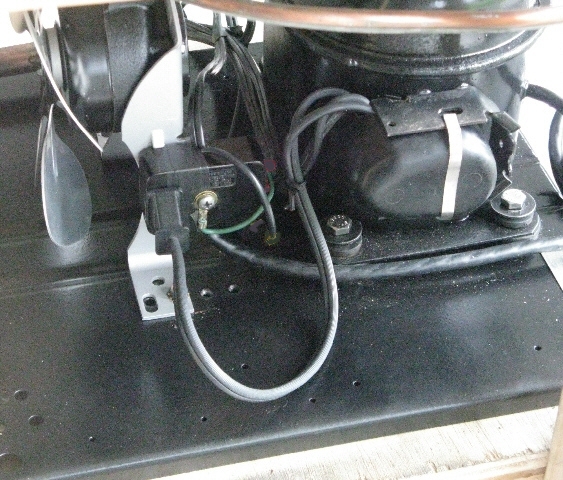
This is the refrigeration mounting plate - paint and any rust removed and repainted
The silver bracket is for the fan mounted to it.

Once handled, all the wiring started to crumble. The insulation cracking from the heat generated in the lower
cabinet over the years of use. The wiring in the upper cabinet survived. The fan motor, already removed here has to be
replaced since the wiring to it literally fell apart right up to the motor case.
There are a few parts companies that can supply an updated harness to use for this area, I restored the original.
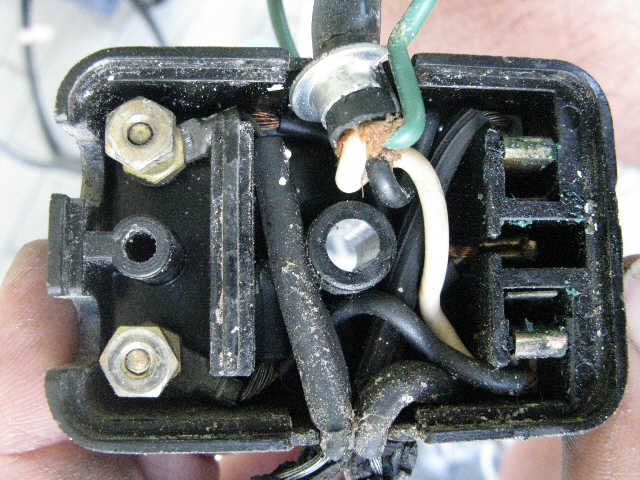
This is the junction box block, in this machine mounted to the fan bracket.
The brass sleeve has been carefully removed for re-use to expose all the wiring connections.
The terminals on the left are for the upper evaporator fan, which has it's own removable cover
The rest of this area can not normally be seen and is not accessible , since it's sealed.
Here is a wiring diagram that applies to my machine that I created. There may be variations used in slightly different models.
My assumption is there were also refrigeration swaps made.

I have been told the id plate on the refrigeration v23TE identifies it as being made by Tecumseh
 _
_ 
The jones plug and it's mating socket will be cleaned also.
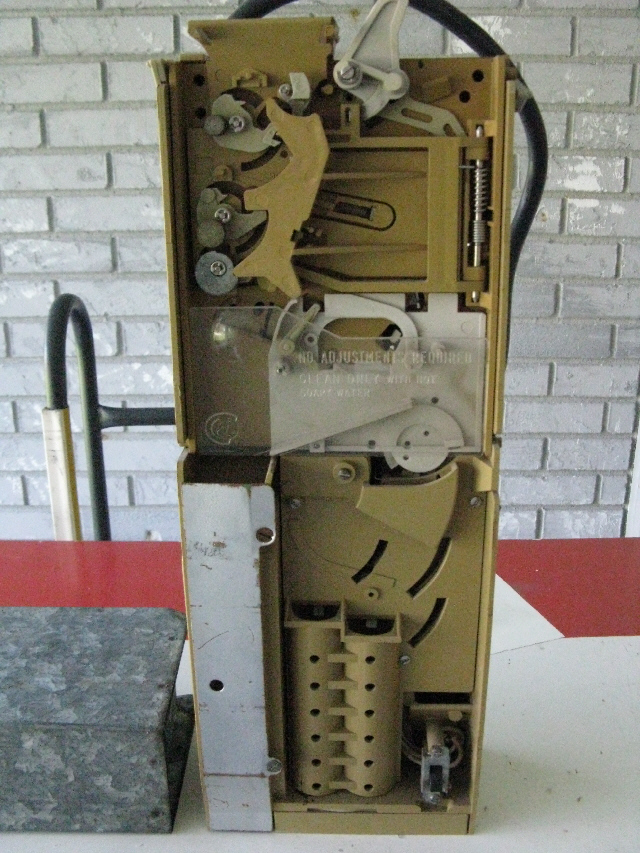
I will look into replacing the coin switches as they are over 50 years old.
Update: After cleaning, I tested it and it works! , how's that for engineering.
The 10c switch is intermittent, I'll try adjusting it but still want to replace it and the others. (Cherry low tension switches)
I'll probably include more about this later, as those that have issues with these just seem to look for another one instead of repairing it.

Also the door hinges have been re-aligned. Not an easy task. It took a 5lb sledge , wood blocks and patience, slowly I got it straightened out.
Before that the door would not fully open or seal correctly when latched.

Here the cabinet body work and painting has been finished on the cabinet. This includes some rust preventive measures for the lower area and the
refrigeration cabinet bottom tray. Unlike some of the machines I've seen this one had little to no damage in these areas.
Though not shown here, because of the significant damage to the coin door. I searched for and found a replacement.
Here is the inside revived. It's missing the white lettering at the top about positioning bottles and the drip tray at the bottom
as well as the vend relay cover. You'll notice that only the bottom tray area and everything to do with vending have been renewed..
The rest is totally original. I was not happy with the new door seal supplied and opted to clean and re-use the original as it was in good shape.
This was the same case for the bottle door external seal. A plus to this is the original seals are pre punched for the clips and screws.

I found a bottle top version of the top sign, shown here.
I think the seller was using it as a wall mounted advertising sign, I don't think he knew it came from a machine.
Though most of the "dirt" on the sign appears to be on the outside, some of it is on the inside, including some sort of staining.
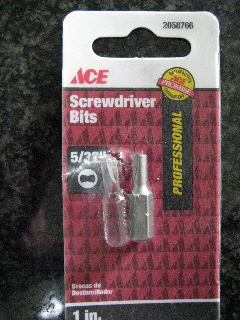
Unlike the later sign which is easily disassembled removing phillips style screws, this earlier sign is put together with a type of security bit called a "clutch" bit.
Something I had never seen. So I had no way to open it.
This type of security bit is not found in most security bit sets being sold. I did find only one place that you can buy these bit's seperately in a retail location --ACE hardware.
The size is 5/32
Once the sign was opened, cleaned and polished here is the result. (already installed in the front cabinet)

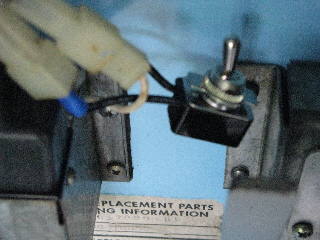
I added this insulated On-Off SPST switch inline with the power for the sign so I can turn it off if I want to.
I added mating connectors to the insulated switch so it just plugs in to the machine harness , it's also easily removed
It's just about finished, waiting for the side decals, and a few other things
But here it is.
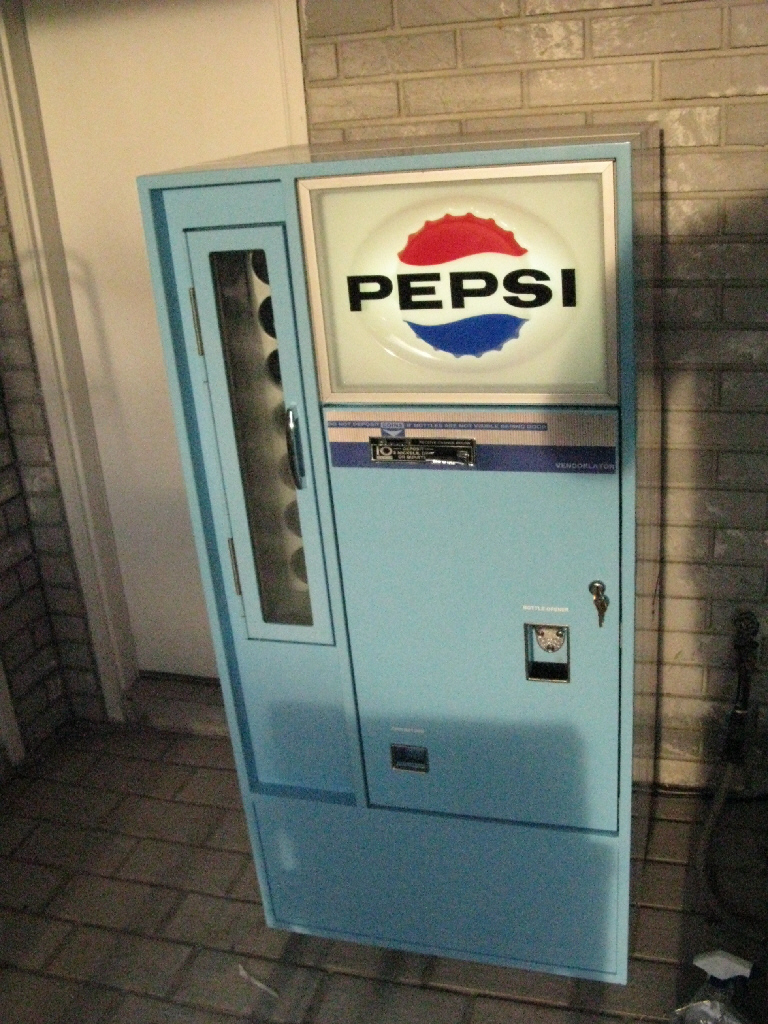
I'll get some better photos, when I get the stickers.
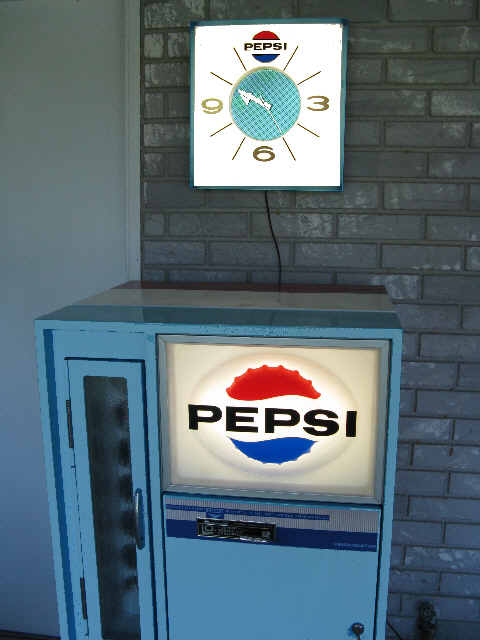
Here at night with a newly revived Pepsi Wall Clock ( PI 1013 series #2 )
The coin escutheon and return lever have been stripped and re-plated, along with a new 10c label added;
The large label on the door was created by me to replace the one missing.
Update: Like the machine sign I decided to add the ability to turn the lights off on the clock.
This was done by adding a spst micro switch to the light circuit.
This clock is very bright, using 2 fluorescent bulbs.
The vend solenoid cover has also been installed. Now just waiting for the side stickers.
I have the machine setup to vend 6 1/2 , 10, and 12 oz. bottles and even cans.

See Life magazine ad below

1966 ad appearing in LIFE magazine showing this machine
Stay tuned.